So you want to get a better handle on your daily schedule huh?
Well, good.
I love to talk about that kind of thing, so you have landed on the right blog!
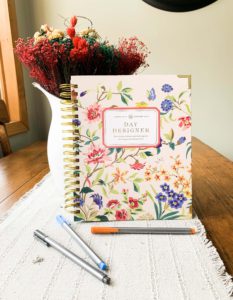
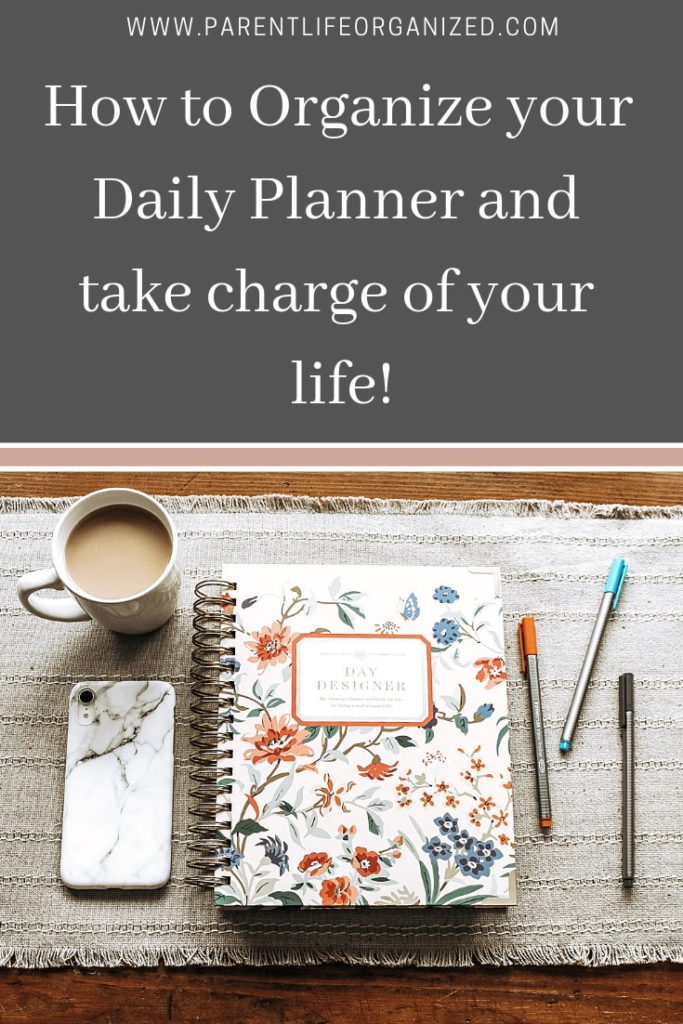
One of the biggest, most important parts of organizing my day is my Day Designer Daily Planner. I’d be totally lost without that thing. Since I have had kids, it has become quite easy for me to forget all that I need to do in a day. I get so overwhelmed with it all that I just feel like curling up in a ball with a cookie and a blanket and forgetting the world and all of my responsibilities!
BUT, Most of the time, I just can’t do that.
So, I purchased a planner and learned how to keep my life organized, and on top of that, I learned how to keep my Planner ITSELF organized.
The purpose of a planner is to get organized and be productive, plan ahead and be prepared, set goals and crush them, and to remember important tasks, to-dos, or appointments etc. But if you can’t commit to organizing and using your planner on a daily basis, than it is just going to sit on your nightstand looking pretty while you continue to run around in chaos, forgetting things you had to do because, MOM BRAIN. (Or if you’re not a mom, then just plain old brain fog from STRESS!)
Yep, I’ve been there!
So let’s talk about how to organize a daily planner, what you should do in your planner daily, and how to take control of the chaos, and kick it right to the curb!!
Start with some Goals.
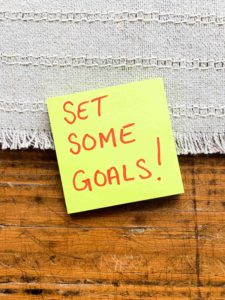
With whatever planner you are using, you should start with some yearly, monthly, weekly, and even daily goals.
Most planners have sections like this already available for you to fill out. My planner has a self assessment page, (where you are currently in life) a “my values” page, which is all about what is important to you, and then it has a few pages where you can set some monthly and weekly goals for the year.
If your planner doesn’t have a built in section like this, either use a blank page or a “notes” page in your planner, (some planners have pages like this right before or right after each new month.) Or write them on a separate piece of paper and keep them in an envelope in your planner, or tape it in, or keep it in a built in pouch if your planner has one!
What yearly goals should look like
Yearly goals should be your big picture dream of where you want to be by the end of the year. They might look similar to any of these:
- I want to create a budget that will allow me to quit my job and be a stay at home mom by the end of the year.
- I want to start my own business and make full-time income with it by the end of the year.
- I want to lose 60lbs
- I want to gain 10lbs and bulk up
- I want to go on a Caribbean vacation
- I want to get a promotion in my career
- I want to start a family
Whatever your big dream might look like for the end of the year, write it down, (or multiple ones if you have lots of dreams for your year!) and in a few sentences explain why you want this and some things to motivate you to press towards your goals.
What monthly goals should look like
Monthly goals should be whatever you want to accomplish each month in order to get closer to your ultimate goal. They would look like this:
- lose 5lbs each month
- save $400 a month for Caribbean vaca
- work late 12 days per month to get ahead and prove my worth in my career
Monthly goals should be practical, achievable, but slightly challenging goals, that work towards reaching your dream destination. Be specific! If your dream is to start a blog and have it generate a full-time income for you, then start researching your first month, sign up for some online classes and/or courses your second month, and then launch your blog the third month…. and so on.
Set realistic goals that you KNOW you can reach, but that you may still have to work hard for or sacrifice for.
What weekly goals should look like
Weekly goals should be an even smaller break-down of your monthly goals.
Sometimes I set these a little higher than what my ultimate monthly goal is, because if I can surpass my monthly goal than that would be amazing! If I can only reach what I originally planned for the month, than I won’t beat myself up for it.
This is why your monthly goals need to be very realistic. You don’t want to set yourself up for failure, or you will quit on your dream.
Weekly goals might look like this:
- lose 1.5 lbs each week – Notice, if you lost this much per week you’d actually lose 6.45 lbs per month, and would either reach your goal of 60lbs for the year faster, (if that is all you wanted to lose) or you would lose 78 lbs total for the year and surpass your yearly goal!
- save $100 a week for that Caribbean vaca. – You would really only need to save about $93 a week to reach your goal of $400 a month (on average), which would bring you to about $4,836 saved for your trip within a year. But if you just bring it up to an even $100 per week, you would have $5,200 saved by the end of the year! That is an extra $364 just from saving an extra $7 a week. (That’s like one trip to dunkin donuts a week… just sayin’) That extra money can buy you souvenirs, maybe another night in your hotel, or upgrade your room, or just simply put it into your vaca savings to get a head start on next years big trip!!
- Work late 3 days per week to prove to my boss that I deserve a promotion – There are 52 weeks in a year. If you worked late 3 days per week, you would actually work late 13 days a month on average. Which would be surpassing the monthly goal of 12 days a week.
Weekly goals are kind of fun because you can play around and be a little less realistic! As long as you are reaching your MONTHLY goals, then you will still be on track to reach your yearly goals. Which, of course, would still be awesome sauce!
You don’t want to overwhelm yourself with your own dreams. Stay realistic with your yearly and monthly goals, and get a little creative with your weekly goals. It is less overwhelming to try to reach a little higher goals on a weekly or daily basis rather than whole months at a time.
DON’T let yourself get upset if you couldn’t quite make your full weekly goal! As long as you are making your monthly, you are good, and even if you end up not being able to make your monthly goals, that just means either:
1. Your monthly goals are too unrealistic. – If this is you, reevaluate and create new monthly goals.
OR
2. You don’t want it bad enough to make the sacrifices. This is not meant to be a burn! It is just truth! If you don’t want it as bad as you thought that is OK… just be alright with the fact that you are not ready to make the sacrifices necessary to reach your end goal. Maybe in another month or two, you will be.
What daily goals should look like
Daily goals should be small steps that you can take to help you reach your weekly and monthly goals, they can also be other personal goals you want to accomplish just for that specific day!
They should look something like this:
- exercise daily, and eat something green for each meal to work towards my weight loss goal.
- no coffee at Starbucks, and/or pack my own lunch to help save for our vacation
- finish my report a week early at work by staying late tonight, and get ahead of my schedule.
They could also look like this:
- Sit down and teach my 4 year old a bible lesson in the morning
- Read one page of my favorite book
- Meal plan/prep for the week
- Weed the garden
- Print photos for an album
- Respond to my children in love (even when they’re arguing with me!)
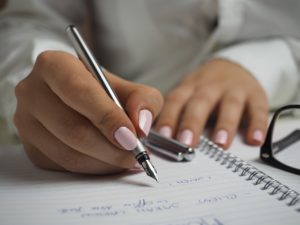
Daily goals should be written in a place where you will see them. You could type and print out the goals that you will be working on every day and use it as a bookmark, for example, and the ones that change by the day, just write them in your planner on the day you are hoping to accomplish that goal.
You should expand more on your goals than the examples I have given of course. Write down your dream goals, your goals for bettering your relationships, your goals for bettering yourself, your career, your home renovation goals, whatever they may be, right them down. Then break them down realistically and then start slaying them ONE DAY AT A TIME.
OK, so that was a lot on goals… I could write so much on that topic, because I think it is super important! But we must move on and continue to organize our planners!
You still with me?
Phew, ok let’s keep going.
Schedule Recurring tasks/birthdays.
Take a moment to think about all your recurring to-dos and payments. If you need to pay your mortgage or rent every month on the 1st, then write this down on the 1st of every month somewhere in your planner.
My day designer has a specific spot to write down bills due on each week day, so I go through payments that are due each month, and for me, I schedule them to be paid a few days before they are actually due. JUST IN CASE I miss it for some reason. (the whole point of a planner is NOT to miss it right?? HA! But life happens sometimes guys, and I’d rather be safe than sorry!)
Think about appointments or to-dos that you have to do every week. Is your child in weekly gymnastics? Or maybe once a week on the same day you do a large grocery trip?
Scheduling these reoccurring events at least a month in advance helps your brain focus more on your daily tasks instead of having to worry about the weekly and monthly to dos as well.
It does take a bit of time to do this part, but it is worth it and saves you a bunch of time in your day-to-day later.
Note: Sometimes it helps to color code these. You can use a specific color for payments that are due, a color for weekly appointments, and color for weekly tasks. It just makes it more fun, and again, it kind of separates things in your brain to view them as different life tasks.
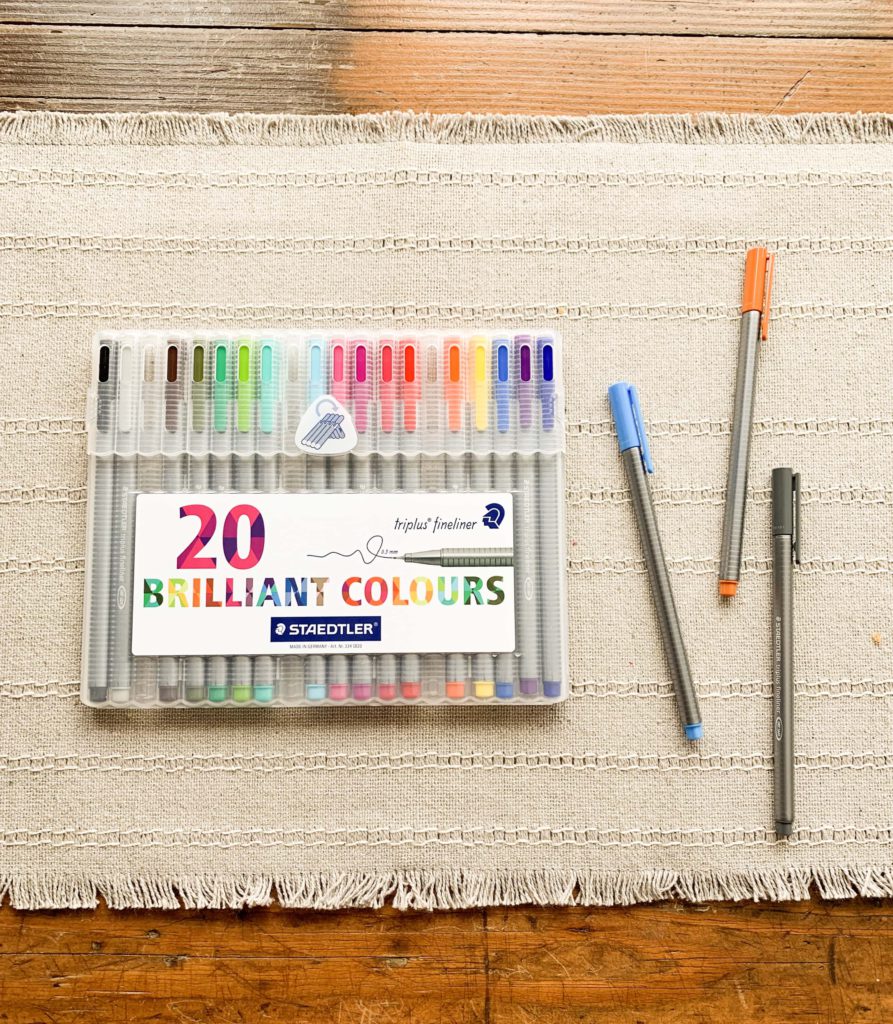
These are my favorite pens to use in my planner! They don’t bleed through, they write nice and smooth, and the colors are bold and beautiful.
PS – Don’t forget to write down the birthdays of those you love. It is so embarrassing to forget right? Write them all down, and surprise people with cards or a text to show them you care.

Schedule yourself time to USE your planner.

Sounds kind of ridiculous right? But I am serious.
If you don’t set aside time to look at and use your planner every day, then, to put it simply, you won’t use it.
Schedule yourself in! Take 15 minutes in the morning to lay out your day, or do it the night before! It doesn’t matter when you do this, it just matters that you do. I literally write “planning time” in my planner during the time block that I plan on working in my planner.
Speaking of Time-Blocking…
Have you ever heard this term used when it comes to planning? It is pretty popular, so maybe you know all about it already, but in case you don’t, here is a very quick explanation.
Time-blocking is pretty much exactly what it sounds like. You schedule your day in different blocks of time. Usually anywhere from 30 min blocks to 2 hour blocks, but you can customize this method to your lifestyle.
I DEFINITELY use time-blocking and I LOVE it. It is super easy to do with my Day Designer planner because it has an hourly layout for each day, so it is simple to schedule what I need to do during each hour.
Yes, sometimes life happens, and things get a little screwy, but for the most part time-blocking is super helpful and it:
- Encourages me to work hard and give all I have during each hour to whatever task I have planned.
- Forces me to work more efficiently during that time block.
- Gives me permission to be done with whatever I was working on at the end of that time block, and be totally ready and present for the next time block.
An example day for me would look like this…
7am – Get up, Read Bible, Pray, morning routine, and get dressed/ready (read more about some of my morning routines in THIS POST)
8am – Get kids rooms picked up (if need be) get them dressed and around, get laundry from kids rooms and get a load started. (if need be)
9am – Breakfast – feed animals – feed myself – unload dishwasher from night before, load it back up with breakfast dishes.
10am – If it’s a day I am working then I am usually working by this time, if not then this is typically a time to either run errands, do some house work, or do a craft/artwork with the kiddos.
11am – Snack time!! If I am not working or running errands, then right after snack it is free time. We either play in the basement, dance to music, or if we need some downtime we may watch a TV show or two.
12pm – Nap time for Jesse. (my two year old) After he goes down I usually do some laundry, a quick clean up with Honor, (my four year old) and then get lunch ready for her. I may also use this time to pay some bills, check my phone, or things of that nature.
1pm – Honor and I eat our lunch and then it is mommy/daughter time! If it is a day that I am not working, I let Honor pick whatever she wants to do at this time, and we do it together. 🙂 Sometimes it is only for 30 min and sometimes it is for an hour or two. It depends on what else needs to get done, and how long Jesse naps for!
2pm – House work, check emails, photo editing for the blog, maybe even get a few minutes on pinterest or something! By about 2:30 I usually either have Honor try to take a nap, or I have her do a bit of quite time. She is often tired at this time of day, and just needs to relax. Jesse sometimes wakes up around 2:30 and other days it is more like 3:00. (I know, he takes long naps and I am so thankful!!)
3pm – Jess will be up by now and will be dying for a snack! I change his diaper, get him some food, and then try to spend some time with the kids until 4:00 (mostly just chasing Jesse around, trying to keep him out of trouble, and breaking up sibling fights!) Sometimes I do errands at this time instead, or grocery shopping, just to get out of the house!
4pm – I start getting dinner around, which if you’re a parent, you know this can be quite the task with two crazies at your feet or scaling kitchen cupboards… I try to survive, as this is when my kids start getting pretty whiny.
5pm – I may put on a little show or some music or break out some sensory bins for the kids to keep them busy while I get the last things around for dinner. Then sometime between 5:30 and 6:30 we eat.
6pm – Eat dinner, clean up dishes, bath time, and bedtime routine for both kids. If we ate dinner a little earlier, sometimes we will have a 6pm dance party as a family until about 6:30 and then start bedtime routines. 🙂
7pm – Jesse goes to bed, then sometime between 7:30 and 8:00 Honor goes to bed.
8pm – Clean up the natural disaster my kids left behind. (I try to make them help pick up throughout the day, but in the evening it’s just mad dash to get them fed, ready for bed, and sleeping… so I am not too picky yet about having them help right before bed… but maybe I should be?? I don’t know. Give me your thoughts on this below!)
9pm until 11:30pm – If it is Mon – Thurs then at 9pm I sit down and I work on my blog. Usually until 11:30pm. If it is Friday night then it is movie night on the couch with my hubby (or date night if we get a sitter) and if it is the weekend we might have friends over, we might watch shows, or we might do some work if we are feeling behind. (Aaron almost always falls asleep by 10:00… I’m on my own when it comes to staying up until midnight! haha)
11:30pm – bedtime routine… wash face, brush teeth, write in my planner for the next day, etc,
12:00am – Prayers and BEDTIME (if I haven’t gone to bed already)
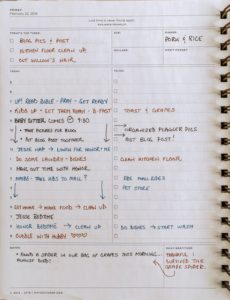
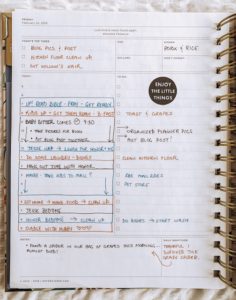
I write these things down in my planner, and then in the to-do list section next to the hourly section, I may write more specific things I need to do, like paying a certain bill, or cleaning the bathrooms, or running to pick up guinea pig food! Whatever it is that I need to get done.
The Day Designer really is laid out BEAUTIFULLY for the time-blocking style of planning. It makes me so happy… 🙂
If you are working in a different planner, you may need to print out to-do lists, or use sticker reminders, or do time-blocking in larger chunks of time. Whatever planner you have, you can find a way to make it work for you.
Set up tracking systems
Tracking systems could be for:
- Fitness
- Finances
- Business tasks or goals
- Personal habits or routines
- Home projects
Really anything that you WANT to track, that you are not tracking already somewhere else, you should set up some kind of system to track it in your planner!
I already track our finances and budget on an app on my phone called Every Dollar…. (SUCH AN AWESOME APP GUYS)
But I write down any fitness goals, business tasks, and personal habits right in the to-do section or the notes section of my planner.
You can also get print out fitness or budget trackers if you have a personalized planner in a 3 ring binder. A lot of planners sell accessories like this to go with their planners as well, but for me, I find that there is enough room for everything I need to keep track of in the Day Designer just the way it is. Which I really love, because honestly, I don’t have time to fuss around with a planner too much!
Break down of what a good planner should include. (In my opinion of course!)
Let’s break this down just a bit because this is a lot of information to take in all at once.
Basically you want your planner to have at least these things:
- A goal setting section (even if it is just a print out that you keep in your planner)
- A calendar spread at the beginning of each month to schedule your recurring tasks/appointments/etc. and to write down birthdays and other special events. (I recommend also writing your recurring tasks on the actual day it is due or needs to be done as well)
- Enough room to schedule everything you need to do in a day, plus areas to track whatever things you want to track
- Tabbed sections for each month. (Just way easier)
- Enough room to write down a few things you are thankful for each day. (I just think this is super important!)
The Day Designer has all of this and much more! The layout really makes it EASY to plan your day, and it takes the stress out of it.
I used to have planners where I had to create little sections for everything myself in tiny little spaces for each day, I was always forgetting things, and spent more time working in the dang planner than I did getting things done! haha…. OK that is exaggerating but it sure felt that way.
The Day Designer already has designated sections for pretty much everything you could need, and it has a notes section on each page if you need a little more room for something else.
My favorite part is that every week day gets an entire page dedicated to planning just that day. I am a busy Momma, so I love the extra room I have to plan my days. The weekends share a page, but that works out well for me too.
If you’d like to read my full review on this planner, you can check that out HERE!
So that is how I organize my planner guys! I hope that all makes sense to you, and gave you a little inspiration for organizing your planner as well. 🙂
If you have more ideas you’d like to share, please do not hesitate to let me know in the comment section below!
Until next time,
Happy Planning!!
– Rae
Never Miss a Post!!
Other posts I think you might like!
- Day Designer daily planner review – Why I LOVE this planner.
- This ONE App can save you hundreds in every-day purchases every year! – Check it out!

This was awesome Sarae! 🙂 Thanks for sharing
Thank you Mel!! 🙂 So happy you stopped by the blog!